THE SYSTEM
How to Read Coverages: Cover 2, Cover 3, and Shells on the Television Screen
Fourteen desk1124 wordsQuarterbacks
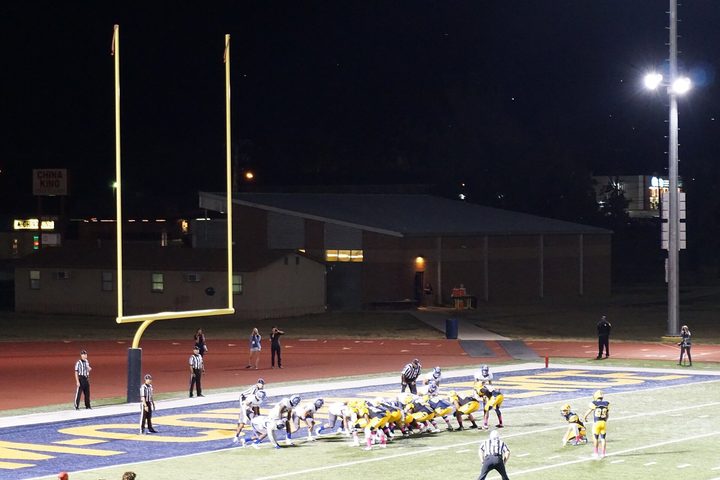
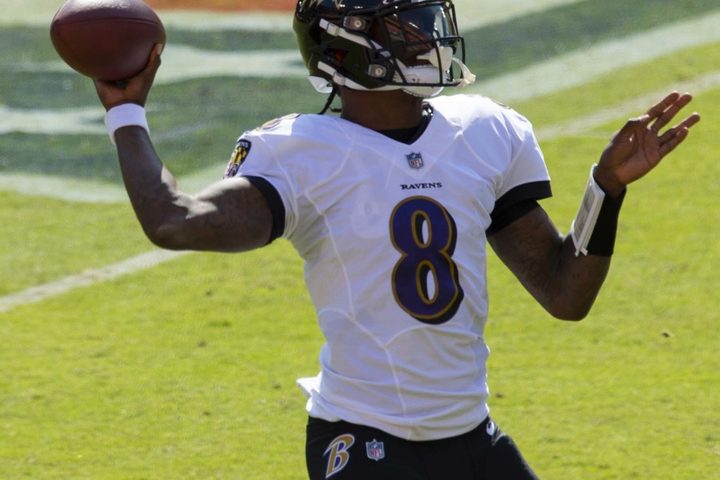
Foto: Michael Barera / Wikimedia Commons · CC BY-SA 4.0
NFL Next Gen Stats coverage classification relies on exact tracking markers, but a viewer on a sofa can determine a defensive structure within two seconds of the ball leaving the center's hands. The method requires a strict broadcast routine: count the safeties standing deep before the cadence, note how the cornerbacks position their bodies against the boundary receivers, and track the initial backward or lateral steps of those same defensive backs when the ball is snapped.
Pre-snap posture is only a proposal. What happens immediately following the snap provides the verdict.
Counting the Safety Shell Before the Snap
The first task is establishing the roof of the defense. One published guide says, the number in Cover 2, Cover 3, and Cover 4 explicitly details how many defenders occupy the deep shell.
A single safety standing alone between the hashes indicates a one-high shell. This alignment points directly toward two possibilities: Cover 1 or Cover 3. Two safeties spaced ten to fifteen yards off the line of scrimmage, positioned outside the hash marks, signal a two-high look. That alignment suggests Cover 2, Cover 4, or Cover 6.
If no defender retreats into deep space and the safeties crowd the line of scrimmage opposite tight ends or running backs, the defense is presenting a Cover 0 look. In Next Gen Stats coverage classification, Cover 0 is defined as a scheme featuring no deep safety help whatsoever. It pairs aggressive forward pressure with tight man coverage across every receiver.
The danger lies in assuming the pre-snap count is final. Defensive coordinators frequently align two safeties deep before the play specifically to mask a one-high structure, dropping an eight-man box right as the quarterback starts his cadence.
Reading Corner Technique and Boundary Leverage
Once the safety count is established, glance at the outside cornerbacks. Their depth, stance, and hips reveal the second piece of the puzzle.
One published guide says outside cornerbacks who align close to the line of scrimmage, squatting near the flat while keeping their eyes fixed on the backfield, strongly support a Cover 2 call. These defenders know they have deep safety help positioned behind them. They are positioned to disrupt releases, force throws inside, and tackle immediate throws into the boundary flat.
- Two-High Squatting near flat Cover 2
- One-High Bailing deep to thirds Cover 3
- Two-High Bailing deep to quarters Cover 4 (Quarters)
- Zero-High Pressed, eyes on man Cover 0
When cornerbacks align seven to ten yards off the wide receivers or begin backpedaling prior to the snap, the defense is preparing to protect deep territory. Corners bailing outside support Cover 3 or Cover 4. If a cornerback shows inside leverage with his eyes locked onto the wide receiver's hips rather than the quarterback, he is playing man-to-man technique. If he is turned inward with his vision drifting toward the quarterback, he is passing receivers off into a zone network.
The Man-to-Man Calls: Cover 0 and Cover 1
Man coverage breaks down cleanly based on whether the defensive coordinator leaves a safety free to roam the middle of the field.
One published guide says, Cover 0 is described as being similar to Cover 1 with one fundamental exception: every defender who does not rush the passer is locked in man coverage against an eligible receiver. With no safety positioned deep to erase a missed tackle or an underthrown ball, the margin for error disappears. An outside receiver winning his route against Cover 0 produces an immediate touchdown.
Cover 1 introduces an insurance policy. One published guide says, Cover 1 operates as a "man free" defense. The cornerbacks, nickel backs, and linebackers match up one-on-one across the formation, while a lone deep safety patrols the middle third of the field. Next Gen Stats classifies Cover 1 as a single-high centerfield safety with man coverage underneath.
From the broadcast view, you can identify Cover 1 when five pass catchers run routes and five distinct defenders follow them stride for stride across the field, all while a solitary defender drifts between the numbers to track the quarterback's eyes.
The Zone Partitions: Cover 2, Cover 3, and Quarters
Zone coverages divide the field into distinct structural buckets, leaving fewer defenders to handle individual assignments while flooding specific passing lanes.
Cover 2 splits the deep half of the field evenly between two safeties. Next Gen Stats notes that Cover 2 deploys two deep safeties with five underneath defenders handling short zones. The vulnerabilities sit along the deep middle seam between the safeties and down the outside boundaries behind the squatting cornerbacks.
Cover 3 shifts to a three-deep, four-underneath framework. One published guide says Cover 3 places three deep defenders across the field, with each player responsible for one-third of the deep area. In this setup, the single-high safety takes the deep middle third, while the two outside cornerbacks bail deep to defend the outside thirds. The remaining four underneath defenders handle the flat, curl, and hook zones.
Cover 4 spreads four defenders across the deep perimeter. One published guide says Cover 4 as the ultimate deep pass-prevention defense, dividing the deep portion of the field into fourths. In this scheme, both outside cornerbacks and both safeties retreat deep at the snap. Each deep defender covers one-fourth of the field width.
Next Gen Stats uses the term Quarters interchangeably with Cover 4. It looks identical to Cover 2 before the snap because two safeties start deep. The difference appears when the ball is snapped: the outside cornerbacks do not squat near the flat, but instead sprint backward to match the vertical release of the outside receivers.
Why Post-Snap Movement Overrules Pre-Snap Alignment
Alignments on a television broadcast can be deceptive because defensive coordinators intentionally disguise their intentions until the center moves the football. A defense may show two deep safeties before the snap to suggest Cover 2 or Cover 4, only for one safety to charge into the tackle box while the other safety slides to the middle of the field at the snap.
One published guide says the definitive confirmation must come after the snap rather than from alignment alone.
If you call the coverage before the ball is snapped, you will regularly misidentify Cover 3 as Cover 2. When the center snaps the ball, ignore the line of scrimmage entirely and watch the deep safeties. If one safety drops toward the line of scrimmage while the other rotates to the exact center of the field, the defense has spun into a one-high Cover 3 or Cover 1. If both safeties backpedal into their deep halves or deep quarters, the defense has remained in a two-high Cover 2 or Cover 4 shell. The safeties' first steps determine the real structure of the play.